Preliminary Exercise: Continuity task involving filming and editing a character opening a door, crossing a room and sitting down in a chair opposite another character, with whom he/she then exchanges a couple of lines of dialogue. This task should demonstrate match on action, shot/reverse shot and the 180-degree rule.
Who did you work with and how did you manage the task between you?
I worked with Molly, Mahalia and Enya. We tried to have everyone's opinions heard and to let everyone have a go with the camera or the clapperboard. We made sure that we were all happy with our idea before we started filming it. Mahalia and I acted in the film, leaving Molly and Enya to do the majority of the work with the camera. Mahalia and I did still film one or two shots and we helped decide how things should be shot. We all contributed shot ideas and were constructively critical of shots that we didn't like, meaning we were able to film our sequence well using good framing and camera shots.
How did you plan your sequence? What processes did you use? What theories did you try and take into account?
To begin with, we watched sequences from previous years for inspiration and ideas. We generally got the feeling that they were all fairly similar and we wanted to do something different and hopefully funny. Admittedly, we let our imaginations run a little too wild and our idea ended up not completely following the brief. However, our sequence did still follow all the rules of continuity and we felt that we told the story quite well.
We had no script as there was very little dialogue in the sequence and only a very rough storyboard that we ended up barely following anyway. However, we had all discussed the shots and the film and we all had a fairly clear idea of how we wanted the film to look. We tried to vary the shot types and to include interesting camera movement and angles.
Our sequence didn't really have a strong sense of genre. I would say that it roughly follows the spy thriller/comedy conventions. Genre was not the main focus for us, however. We mainly focused on telling the story fluently and interestingly. We were careful not to break the 180 degree rule or the 30 degree rule, varying our shots and angle. We synced up actions during editing and generally tried to make the sequence flow.
What technology did you use to complete the task, and how did you use it?
We used a HD camera mounted on a tripod to film our shots. It was small and therefore very mobile and the tripod was very useful for still shots as well as for adding stability for shots that had movement. The footage was filmed onto tape and then copied onto a computer and imported to Final Cut Pro - a non-linear editing program. We arranged the clips on the timeline, cut them so that there were no gaps or pauses, messed around with the audio levels so that everything was roughly at the same volume and, finally, did some grading to make the clips look nicer.
What factors did you have to take into account when planning, shooting and editing?
When planning, our main concern was conveying the story. However, we also had to consider location, times and what order we would shoot our different shots in. W decided that we would film all of the outside shots first as the entrance to the media block was being used for the first half of the hour. While shooting our track shot, we had to be sure that we did not get the reflection of the camera in the windows and it took a few tries to get a good take of the shot. Another thing we had to consider was if the lighting from the computer screens would be enough to show what was happening in the scene. We did a mini test shoot beforehand to make sure the light was sufficient. It was.
While editing, we obviously tried to take into account the continuity theory. We made the cuts quick and we made the sequence flow. Overall, we think the achieved what we wanted to as the scene flows quite nicely.
How successful was your sequence? Please identify what worked well, and with hindsight what would you improve/do differently?
Our sequence was quite successful. However, it could be greatly improved, mainly due to the fact that there is very little sense of genre. It also barely follows the brief. I feel like the camera work and editing was done well. The scene is smooth and the editing is subtle and not noticeable, meaning the viewer can become temporarily immersed in the scene without worrying about a dodgy cut or something that doesn't make sense in the scene. The shot types are varied and interesting and they show all the key details that needed to be shown for the scene to make sense.
In hindsight, I would have followed the brief more closely. There was no real conversation; only a reaction and a statement. The character did not open a door; it was already open. They don't sit down opposite the other character or cross the room. Clearly, I need to focus more on doing what the brief actually says instead of getting distracted with other aspects. However, other than this, I am actually fairly happy with how the sequence looks. It has personality and it flows and I'm proud of that.
What have you learnt from completing this task? Looking ahead, how will this learning be significant when completing the rest of your foundation coursework, do you think?
Most importantly, I have learnt how to create continuity in a sequence and I have also learnt that I'm actually okay at it, which is reassuring. I have also learnt that I need to stick to the brief more. This task has been very useful as it has shown my strengths and weaknesses and so I now know what I need to improve on. For example, I should probably spend more time planning and making sure my sequence will look okay before I actually go out and film it. However, I've learned that I'm pretty good at visualising how the sequence will look and thinking of different shots, framings and ways to tell the story. The editing process was also a nice reminder on how to use Final Cut Pro. I became quicker and more efficient at using the program and this will help me significantly in the future.

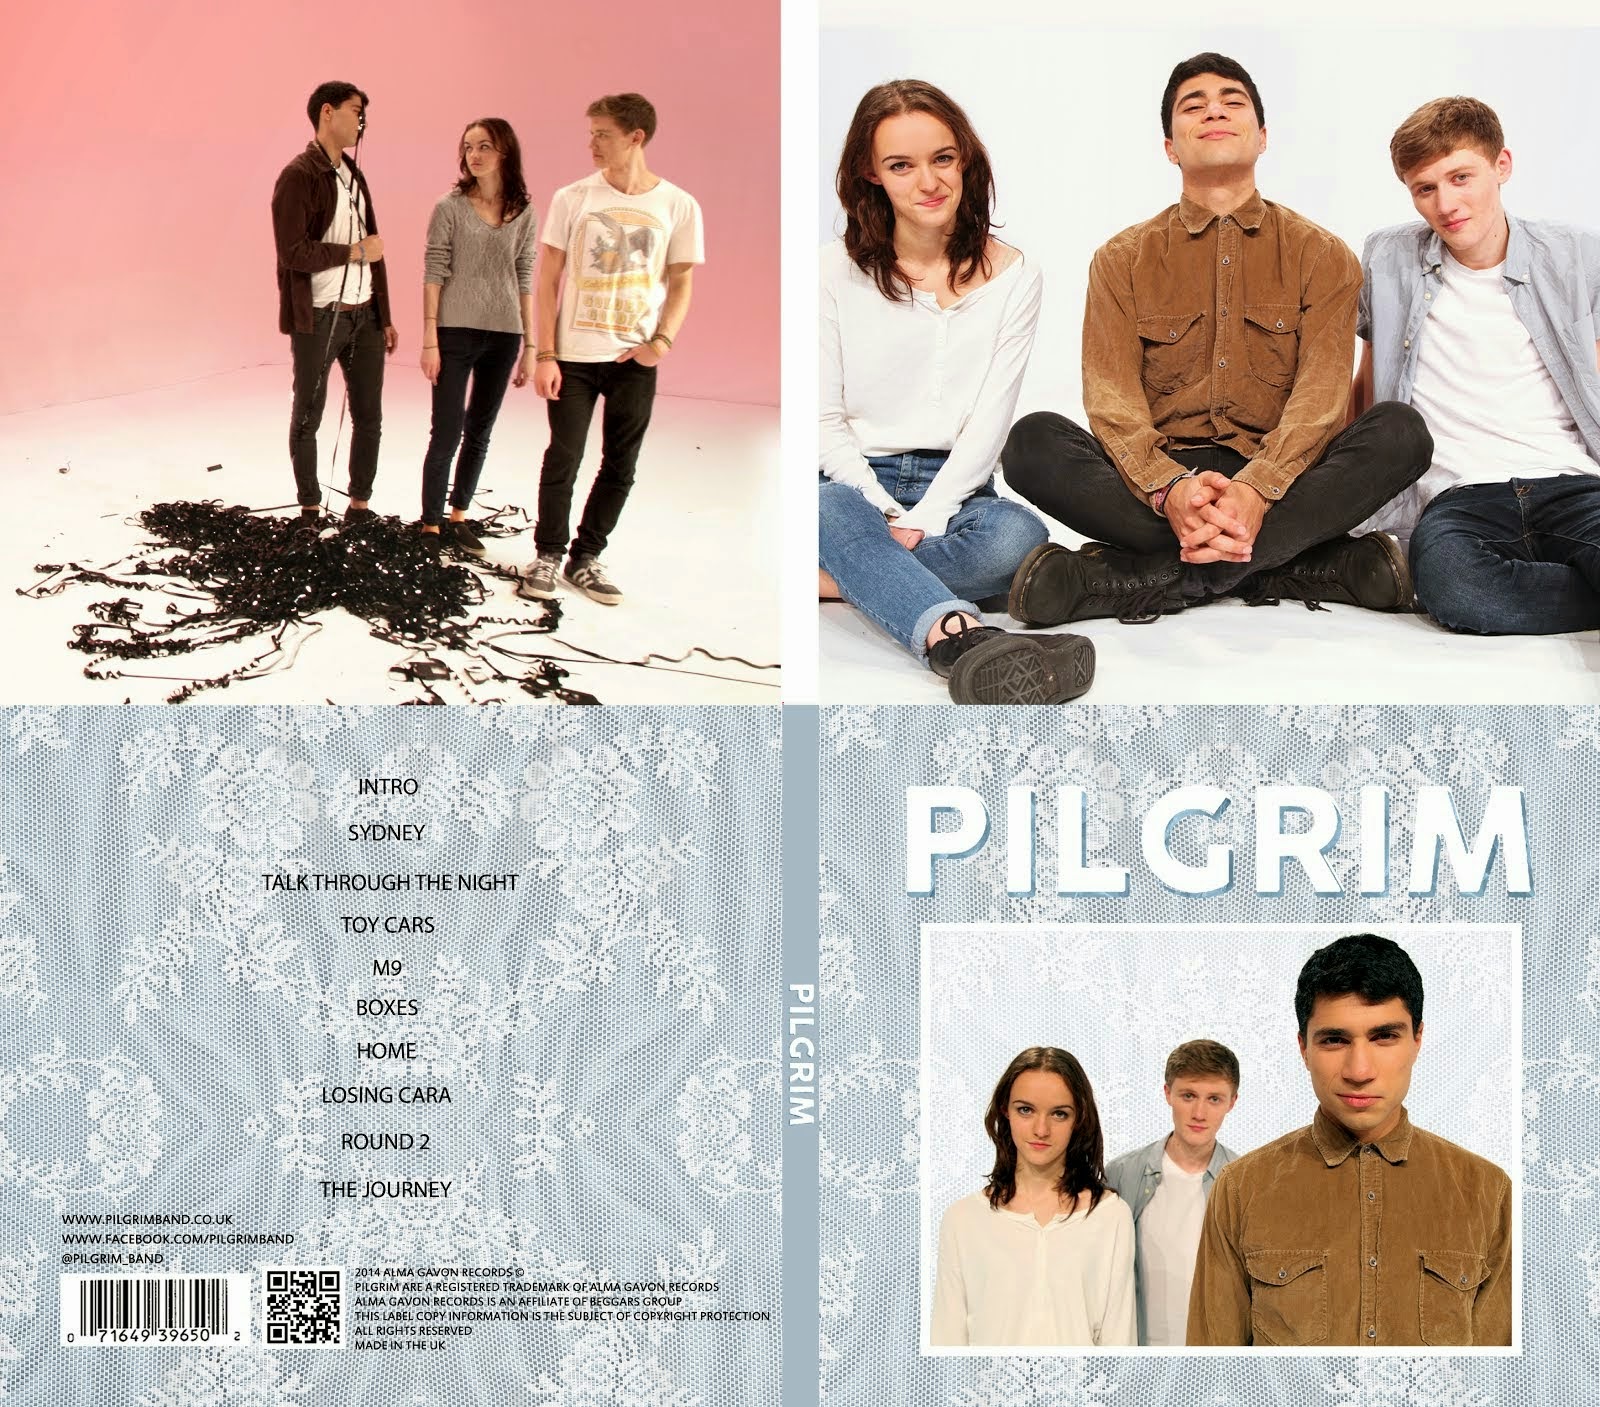
 Click Image to open Pilgrim's website in a new tab